Do you want to turn your walls into museum-quality displays? Mastering the art of plastering is a must if you want to improve your home's longevity and visual appeal. In this detailed tutorial, we'll show you how to plaster like a master by walking you through each step and sharing our best advice. You will learn everything you need to know to become a master plasterer, including how to analyse wall conditions, select the best plaster materials, mix the proper consistency, and apply flawless coatings. Prepare to build walls that are works of art.
Organising Your Work Space and Equipment
Always Use Clean Equipment
Avoiding contamination is essential in professional plastering. Before mixing plaster, clean any wall-contact tools. If you wouldn't eat off it, it's dirty.
- Even a small amount of leftover plaster from the previous endeavour could prevent the fresh plaster from sticking or setting. Cold water, soaking, and minimal mixing allow the plaster to dry slowly. Hot water and thorough mixing hasten plaster setting.
Put Down Drop Cloths To Protect The Floor From Any Spills
Low-cost canvas coverings or plastic tarps can hide dust, spills, and muddy mortar footprints. Because plastering may be so filthy, taking this precaution will allow you to spend less time cleaning up afterwards. Plastering black walls can be particularly challenging because of the need to clean up stray bits using rags and water.
- Plaster scratches hardwood and laminate floors, so cover them.
- Use painter's tape to secure the dropcloth under the wall.
- After finishing, spray the drop cloths outdoors with a cleaning solution.
- Plaster crumbles off tools due to excess water in the formulation. As you work, less plaster will fall, get on your hands, and require cleanup.
Remove Any Dirt And Dust From The Wall
Rub the entire wall with a dry, stiff-bristled brush. Focus on the spots with the most accumulation or where old layers of plaster were removed, leaving clumps. After brushing, use a moist cloth to remove any debris left behind.
- Applying plaster over discoloured areas without first priming them will result in poor adhesion.
- Before you plaster, make sure any holes in the wall are fixed.
- Before plastering, check that the walls and ceilings are level and plumb. The smoothness of the finished wall could be compromised otherwise.
- Run your finger along the wall to see if it's ready to receive new plaster. More work is required if it leaves behind a thick layer of dust. If you spray water on the wall, the fresh plaster will easily stick to the old.
- When plastering over new lath or resurfacing an old wall, you should always start by cleaning the surface. Plaster won't stick to dust, soap, oil, tar, or mould-contaminated surfaces. Plaster won't adhere to drywall because the water will evaporate before the plaster can absorb it.
Brush On Some Pva Adhesive to get the Wall ready for the plaster
Stir one part PVA glue and four parts water in a disposable paint tray. Roll or brush PVA onto as much of the wall as possible. Plastering over a sticky, wet PVA coating works best.
- PVA glue must be used to ensure that the fresh plaster stays on the wall.
- Applying a base layer before applying plaster will help protect it from the substrate's dampness, which can lead to the plaster flaking off.
A 5 Or 7-Gallon (19 Or 26.5 L) Bucket Is Ideal For Mixing Your Plaster
Fill the bucket halfway with clean, cold water. Shake the bucket to float a new bag of plaster mix. A plunge or swirl of the dry plaster particles.
- Plaster should never be watered. Water thickens plaster because you must use too much force to mix it at the bottom of the bucket. Add plaster and stir.
- Work faster with a paddle-attached electric drill. Mix plaster with a drill attachment for rapid hardening. Plaster huge areas fast with the attachment. Mix by hand in a smaller bucket for precise repairs.
Plaster Can Be Thickened By Constant Stirring
Keep going until there are no more lumps and it is completely smooth. Occasionally, it would help if you scraped the sides of the bucket to release any dry pockets that may have formed. The completed plaster should have a texture similar to peanut butter.
- The plaster can be tested for thickness by lowering a wooden paint stirrer into the container. The plaster is strong enough if it can be propped up on its own.
Putting on the First Layer of Drywall
Put A Bunch Of New Plaster On Your Hawk Board
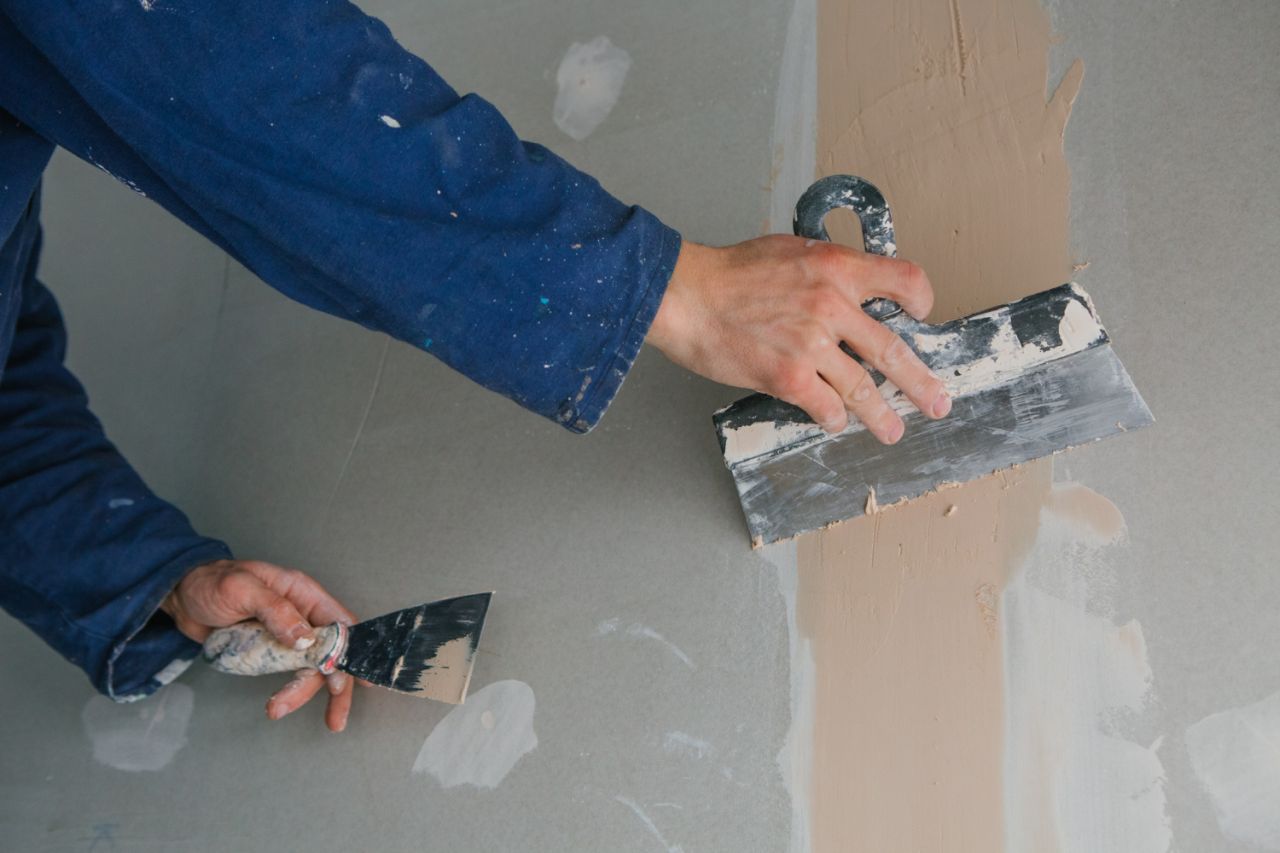
Scoop plaster from the bucket with the trowel's edge. Plaster can be pulled onto the hawk from a tarp or mixing table. Add more without stopping.
- If the plaster is properly blended, the bird of prey won't stick to it. However, you can wet it slightly if you want to aid the hawk release.
Put A Little Bit Of Plaster On Your Trowel And Get It Ready
Slide the trowel's flat edge under one end of the plaster to pick up enough for a floor-to-ceiling strip. Centre the plaster in the trowel for precision and efficiency.
- Plaster should be used sparingly at first and then gradually increased. Constructing the coat in stages is far simpler than smoothing out an uneven glob.
Apply The Plaster To The Wall, Beginning In The Lowest Corner
To reach the higher wall:
- Start low and push the plaster up in an arc to your feet.
- Slide the trowel 2–4 inches and restore it at stroke height.
- Gradually apply plaster.
- Wait 5 minutes before troweling soft plaster that slips down the wall.
- Use a shallow-slant trowel. Holding the plaster flush permits removal.
- Start with a 3/8" (1cm) coat thickness.
Plaster The Wall In Sections
Plaster the wall from the bottom up. Stop to scoop plaster onto your hawk board. Apply plaster evenly across the surface.
- The highest wall corners may require a stepladder.
- At this point, thickness is optional. Smooth and polish the plaster later.
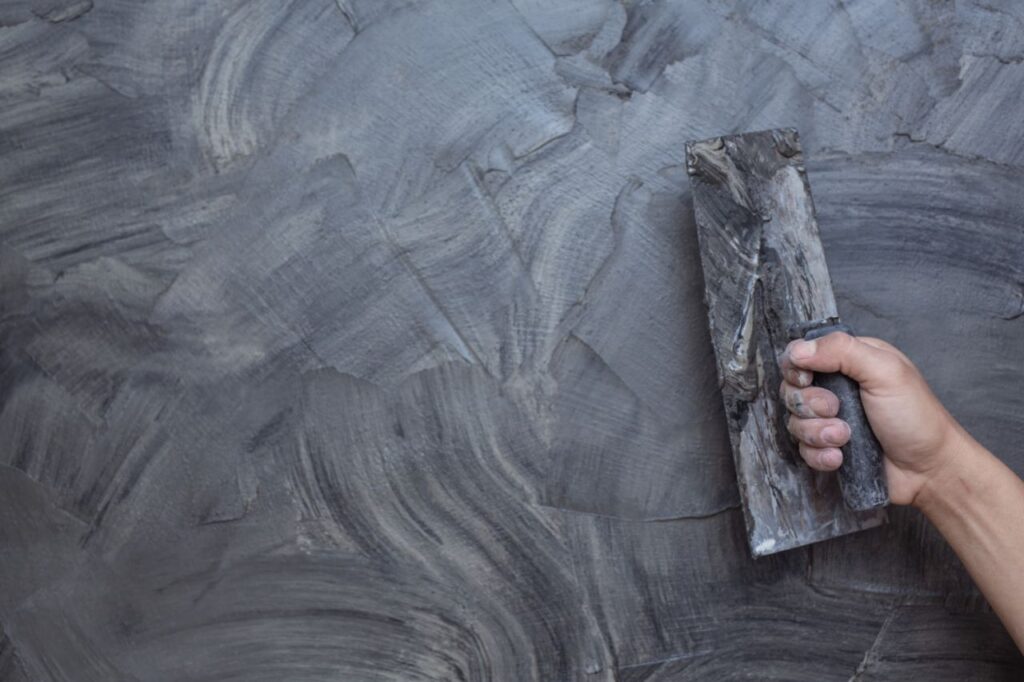
Put Down A Smooth First Layer Of Plaster
Once the plaster is in place, you should wipe your trowel clean and run it in all directions along the wall. Use even pressure, paying special attention to the places where the plaster is very thick or where the higher margins have caused a seam. Like smoothing out the icing on a cake, the surface should become more even and polished with each pass.
- Re-wet the initial plaster sections using a spray bottle if necessary. They'll be more receptive to the trowel when you do this.
- A wet, high-quality paintbrush can be a lifesaver when touching up hard-to-reach areas.
Before Applying The Second (Optional) Coat Of Plaster, Scrape It To Give Texture
Score wet plaster before adding a second coat to smooth it. Rake the plaster from end to end with a deviling float or notched trowel. Since you gave the plaster something to stick to, it won't split or separate.
- You can use a regular fork if you don't have either of them. However, it will take much longer.
- Scoring produces shallow grooves that enhance the wall's total surface area and improve the second coat's adhesion.
Applying the Final Coat and Polishing It
To Finish The Plastering, Apply A Second Layer
The outer "skim" coat should be around 3/8" thick, though a thickness of 1/12", or about 2mm, is acceptable. Apply this second layer in the same manner as the first, concealing seams or gaps.
- You can use a trowel to smooth the skim coat or switch to a float for the final touches.
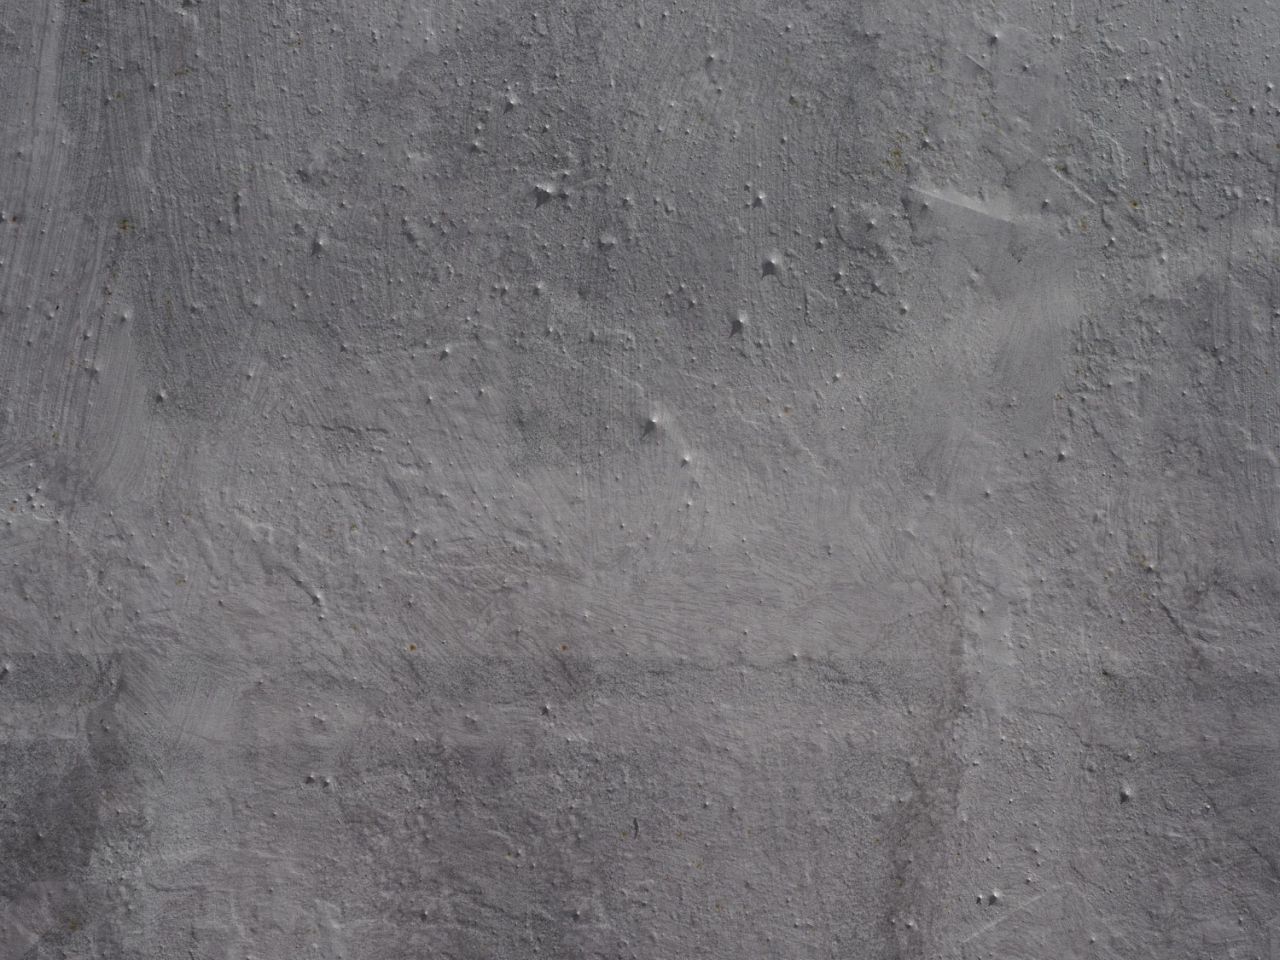
Get A Smooth Surface By Using A Float
Lightly gliding the float in all directions over the wet plaster's surface can smooth out any bumps, holes, lines, and thickness differences. When you're finished, the wall should be uniformly smooth.
- Don't rush anything. Plaster smoothing is a tedious job, but it must be done properly.
- It's important to avoid over-polishing the plaster. Paint and wallpaper may lose their grip if it begins to take on a glossy sheen.
Let The Plaster Dry Completely
Depending on environmental factors, Plaster has a range of 3-5 days to harden fully. The plaster should not be touched while it is still wet. During this period, it will pick up any irregularities in the wall, and they will show up in the final product.
- Drying times can be affected by variables like the plaster's composition, the ambient temperature, and the humidity of the air.
- Before applying wallpaper, paint, or any other wall coverings, be sure the wall is completely dry.
Types of Plaster
Lime Plaster
The ratio of sand to lime in a lime mixture is 1 to 3 in volume. This mixture serves double duty as both an undercoat and a topcoat. To prevent cracking and shrinkage, adding animal hair of roughly 5 Kg per 1 m2 is recommended when applying lime plaster. Historic building restoration can use lime plaster.
Cement Plaster
Plaster manufactured from sand and cement that uses quantity rather than quality to achieve the former is called sand cement plaster. As an undercoat, it is applied to brick and other hard walls. Plaster is made easier to apply to different surfaces by mixing in plasticisers. It can also help prevent pests like mosquitoes and parasites from entering a building.
Gypsum Plaster
Gypsum plaster is the most well-known and widely utilised type of plaster today. It's a versatile fabric that can replace traditional building materials like lime and cement plaster because of its adaptability and versatility. When applied to a floor, gypsum plaster's unique expanding properties prevent cracks and shrinkage from appearing.
Conclusion
Mastering the art of plastering is crucial for those who want to enhance the longevity and visual appeal of their homes. By following the step-by-step guide provided in this tutorial, anyone can learn how to plaster like a professional.
From analysing wall conditions to selecting the right materials, mixing the plaster correctly, and applying flawless coatings, this comprehensive tutorial covers all aspects of the plastering process.
One can achieve museum-quality results by paying attention to details such as maintaining clean equipment, protecting the work area, and properly preparing the wall.
Additionally, the tutorial highlights different types of plaster, including lime plaster, cement plaster, and gypsum plaster, providing options to suit various project requirements.
With the knowledge and techniques shared in this guide, individuals can transform their walls into works of art that are not only visually appealing but also built to last.
Content Summary
- Learn how to plaster like a master and transform your walls into works of art.
- Organise your workspace and ensure clean equipment for professional plastering.
- Protect your floors with drop cloths and use painter's tape to secure them.
- Remove dirt and dust from the wall before applying plaster.
- Fix any holes in the wall before plastering.
- Check the level and plumb of the walls and ceilings for a smooth finish.
- Test the wall's readiness by running your finger along it.
- Clean surfaces before plastering to ensure proper adhesion.
- Use PVA adhesive to prepare the wall for plastering.
- Mix plaster in a 5 or 7-gallon bucket with clean, cold water.
- Use an electric drill with a paddle attachment for faster mixing.
- Keep stirring the plaster until it is smooth and lump-free.
- Test the plaster's thickness using a wooden paint stirrer.
- Apply the first layer of plaster using a hawk board and trowel.
- Start plastering from the lowest corner and work your way up.
- Plaster the wall in sections and apply plaster evenly.
- Smooth the first layer of plaster with a trowel.
- Wet the initial plaster sections with a spray bottle for better troweling.
- Use a wet paintbrush for touching up hard-to-reach areas.
- Scrape the first coat of plaster to give it texture before applying a second coat.
- Score the plaster with a deviling float or notched trowel.
- Apply the second layer of plaster in the same manner as the first.
- Use a trowel or float to smooth the skim coat for a finished look.
- Avoid over-polishing the plaster to maintain paint and wallpaper grip.
- Allow the plaster to dry completely before applying wall coverings.
- Lime plaster is a mixture of sand and lime used for undercoat and topcoat.
- Adding animal hair to lime plaster helps prevent cracking and shrinkage.
- Cement plaster is made from sand and cement and is applied as an undercoat.
- Plasticisers can be added to cement plaster for easier application on different surfaces.
- Gypsum plaster is a versatile alternative to traditional building materials.
- Gypsum plaster's expanding properties prevent cracks and shrinkage.
- Mastering plastering improves your home's longevity and visual appeal.
- Clean equipment before mixing plaster to avoid contamination.
- Use drop cloths to protect the floor from spills and cover hardwood and laminate floors.
- Remove dirt and dust from the wall before plastering to ensure adhesion.
- Check the level and plumb of walls and ceilings for a smooth finished result.
- Apply PVA adhesive to prepare the wall for plastering.
- Mix plaster in a 5 or 7-gallon bucket with clean, cold water.
- Use an electric drill with a paddle attachment for faster mixing of plaster.
- Keep stirring the plaster until it is smooth and lump-free.
- Apply the first layer of plaster using a hawk board and trowel.
- Plaster the wall in sections, starting from the lowest corner.
- Smooth the first layer of plaster with a trowel.
- Wet the initial plaster sections for better troweling.
- Scrape the first coat of plaster to give it texture before applying a second coat.
- Apply the second layer of plaster in the same manner as the first.
- Use a trowel or float to smooth the skim coat for a finished look.
- Allow the plaster to dry completely before applying wall coverings.
- Lime plaster is a mixture of sand and lime used for undercoat and topcoat.
- Gypsum plaster is a versatile alternative to traditional building materials with expanding properties to prevent cracks and shrinkage.
Frequently Asked Questions About Wall Plaster
The drying time for plaster can vary depending on factors like temperature and humidity. It typically takes around 24-48 hours to dry completely.
Yes, if necessary, you can apply a second coat of plaster after the first coat has dried. Follow the same steps as before, ensuring the surface is smooth and even.
Once the plaster is fully dry, use sandpaper to smooth out any imperfections or uneven areas. Sand in a circular motion and then wipe away the dust with a damp sponge.
Applying a primer or a sealer to the plastered wall before painting is recommended. This helps to create a smooth surface and improve paint adhesion.
It is not recommended to plaster over existing wallpaper. Remove the wallpaper completely before plastering to ensure a proper and long-lasting finish.


