We are pleased to welcome you to our in-depth tutorial on restoring plaster walls.
In this section, we will explore the art of maintaining the beauty and authenticity of antique craftsmanship.
Plaster walls have been admired for a long time due to their longevity, elegance, and classic allure.
In this piece, we will take you through the process of restoring plaster walls in a step-by-step manner, sharing useful insights and expert advice with you along the way to assist you in reviving the splendour of these architectural wonders.
Join us as we go on a journey to restore the splendour of plaster walls.
It doesn't matter if you're a homeowner, a restoration specialist, or just an enthusiast; you're welcome to come along.
Plaster Crack Repair: An Overview
Reconciling the plaster with the strips of wood lath that are located underneath is essential to any repair.
In the event that this does not occur, the cracks will reappear regardless of how many times you patch them over.
Before beginning any kind of repair, This Old House general contractor Tom Silva often reattaches the lath using screws and metal washers.
More recently, however, he experimented with Big Wally's Plaster Magic, an adhesive designed for use in the home that used glue rather than screws.
In spite of the fact that it is more expensive than the screw-and-washer method—a six-tube kit costs $120 as opposed to $20 for 120 metal washers—the final finishing is simpler and more attractive due to the fact that there are no washers to cover.
In addition, a connection that is held together by glue is more durable than one that is screwed.
What Are Plaster Walls?
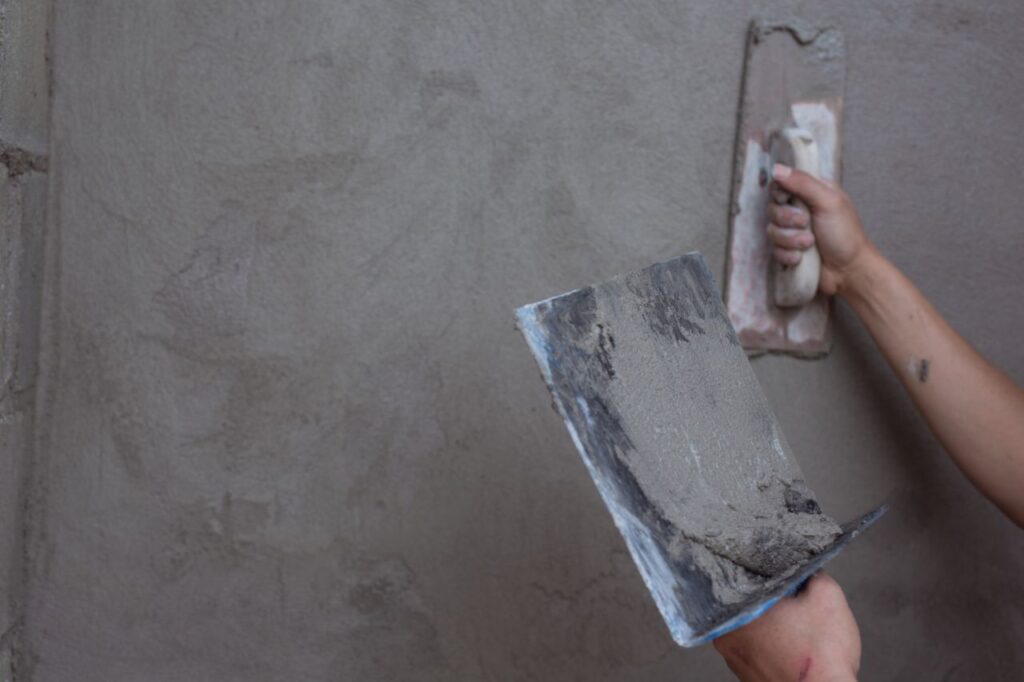
Dry components such as sand or lime are combined with water to produce plaster, which is then used to construct walls.
It becomes more rigid when it dries, much like concrete and mortar do.
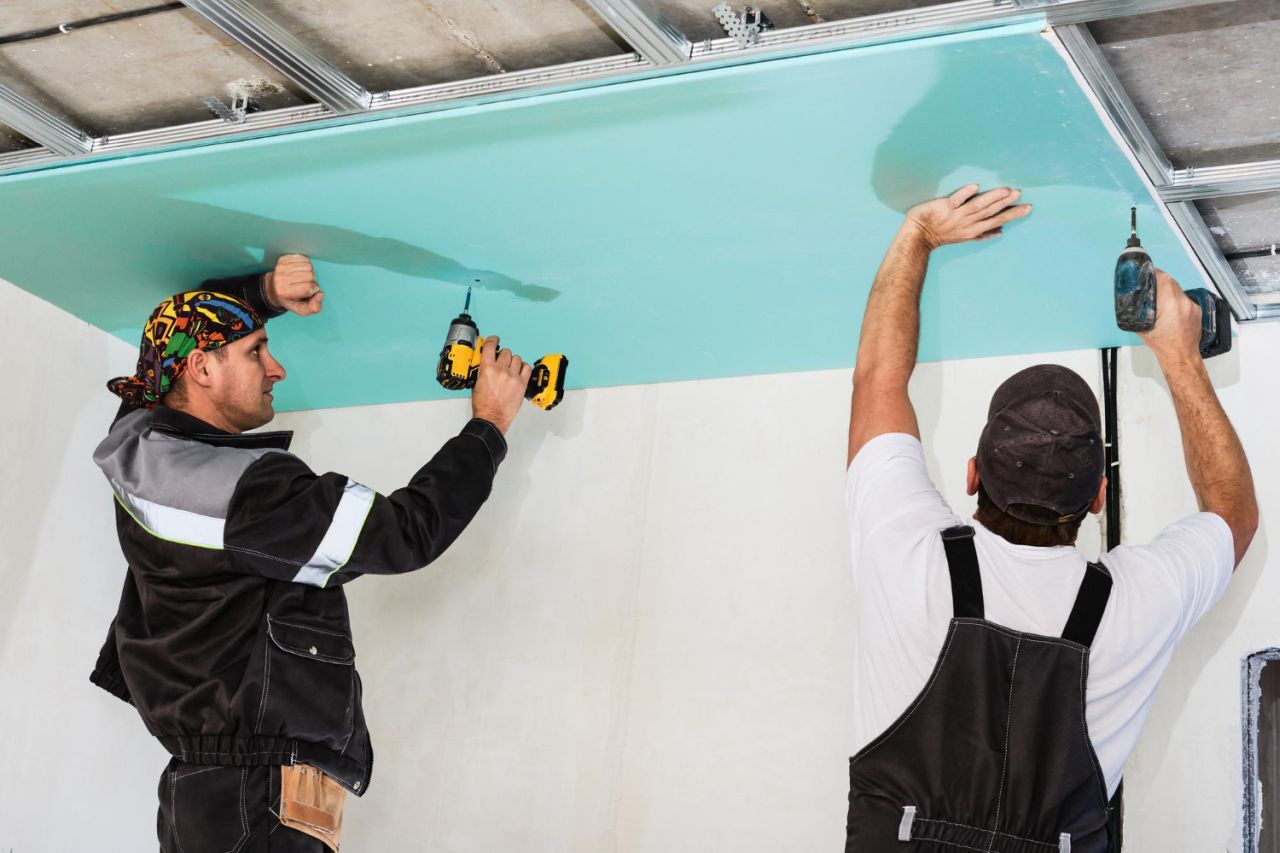
Plaster has been largely superseded by drywall due to the former material's lower cost and superior ease of installation.
Drywall may be installed in a matter of minutes, however, plastering takes much longer.
Coats
Most walls begin with wooden slats over studs. Laths are the common name for these slats.
Lath has been mostly phased out in favour of a metal mesh as a preventative measure against cracking in recent years; however, wood is still employed in select applications.
There are going to be three coats of plaster applied on top of the lath.
The Scratch Coat
The initial layer is known as the scratch coat.
This coat is simple to apply and serves as a foundation for the other coats to be applied on top of it.
The scratch coat is applied heavily to fill in all the crevices in the slats.
After it has been coated, grooves are cut into the surface so that the second coat will have something to adhere to when it is applied.
The Brown Coat
The second layer, which is brown and gives the walls an even surface and square corners, is applied after the first.
The Finish Coat
After the brown coat has had time to dry, you will be prepared for the third and final coat.
There are a wide variety of different kinds of finish coats, each of which has its own unique texture and level of thickness.
Since this is the only coat you will encounter, the decision comes down to individual taste.
How to Fix Cracks in Plaster
Prepare the Room
Before beginning, it is important to protect the floor by covering it with drop cloths made of plastic and tape them down using painter's tape.
This will protect the floor from any plaster or joint compound that is accidentally spilt or splattered, and it will also make the clean-up process easier, as the majority of the dust from the sanding will settle on the drop cloths.
To prevent sanding dust from entering your heating, ventilation, and air conditioning system, seal off the area using plastic sheeting and painter's tape, and cover any vents.
Smooth and Patch
Using a putty knife, smooth the area around the crack and remove any loose plaster fragments as well as any rough edges that may be present.
You can use a cloth or a rag to remove dust and other particles.
Use a spray bottle filled with water to wet the area down.
In a large bucket, mix dry plaster with water in accordance with the instructions provided by the manufacturer.
Plaster is best mixed in a mud pan, so empty the bucket's contents into one.
Plaster the fissure with a layer of plaster using a wallboard knife measuring 4 inches in length.
Ensure that the layer is even with the rest of the wall. When repairing cracks, one layer of plaster is typically sufficient.
The area needs to be allowed to dry for a full day.
Repairing cracks can also be done with spackle and joint compound, respectively.
You can use spackle to repair even the tiniest of cracks.
Apply the putty in little amounts with a putty knife that is 2 inches long until the crack is covered.
Wait for the amount of time that the manufacturer specifies before touching the spackle again.
Sand it till it's smooth. A joint compound is an option for wider cracks that need to be repaired.
To begin, run a piece of fibreglass wallboard tape that has a self-adhesive backing across the whole length of the fissure.
This will assist in preventing the crack from becoming any larger.
Apply the joint compound over the tape using a wallboard knife measuring 4 inches in length until the tape is fully covered.
Your coverage should be feathered out about 3 inches all the way around the area that has been taped so that it will blend in with the rest of the wall.
After it has had time to dry, use sandpaper with a very fine grain to smooth it out.
Apply a second coat of joint compound, then feather out this layer so that it extends 6 inches to 12 inches beyond the area that was repaired.
This will help the compound blend in even more.
Let it dry out once more before moving on to the next step.
Sand, Prime and Paint
Sand the repaired area with a piece of sandpaper with fine grit until it reaches the desired smoothness.
Use a moist towel to remove the dust and debris the sanding process leaves.
After cleaning the patch with a damp sponge, paint the area with True Value EasyCare Ultra Premium Interior Primer/Sealer and wait for it to dry completely before moving on to the next step of your painting project: applying the paint base coat.
How to Repair Holes in Plaster
Remove Damaged Plaster
Take off the damaged plaster by chipping it off the wall with a cold chisel and a ball peen hammer.
This will remove the damaged plaster. Be careful not to chip too aggressively, or you will end up damaging the lath, which is the wooden structure that the plaster is supported.
Make the inside borders of the hole as smooth as possible with a utility knife.
Apply Latex Bonding Agent
Applying a latex bonding compound with a paintbrush to the exposed plaster and lath will prevent the dry plaster and lath from absorbing excessive moisture. It will ensure the integrity of the surface.
Enquire a True Value hardware shop staff member about the correct bonding agent to use with the plaster in your home.
Apply and Cross-Scratch Plaster
A plaster should fill the hole, and a wallboard knife measuring 10 inches should be used.
Scratch a cross pattern into the first coat of plaster just as it starts to harden so that the second coat will adhere better.
Scratching or scoring the first coat using a putty knife or another tool with a blade to create shallow grooves in either the vertical or horizontal direction before applying the second coat is an effective method for facilitating the formation of a strong bond.
Apply Second Layer
After allowing the first layer to cure for a full day, apply a second coat of paint and then spritz the surface with water using a spray bottle.
Apply a layer of plaster that is 3/8 of an inch thick over the hole, and then cross scratch as you did before.
Additionally, this layer needs to dry for a full day.
Apply a Layer of Joint Compound
After the second coat is dry, apply the joint compound using a wallboard knife that is 10 inches long.
To make the patch blend in with the rest of the wall, feather out the coverage approximately three inches around it, just like you would if you were repairing a fracture in the wall.
After allowing it to dry, use sandpaper with fine grit to hone it to a smooth finish.
Apply a second coat of joint compound, then feather out this layer so that it extends 6 inches to 12 inches beyond the area that was repaired. This will help the compound blend in even more. This topmost layer has to be painted on very lightly so that it will blend in with the wall, and then it has to dry for a whole day.
After the area has been allowed to dry thoroughly, wipe it off with a moist sponge, and then use sandpaper with a fine grit to sand it until it is smooth.
You can now prime and paint the surface.
How to Repair Plaster Walls
Drill Into the Plaster
Drill a hole in the plaster with a masonry bit measuring 3/16 of an inch approximately 2 inches away from the crack.
Stop drilling as soon as you touch the lath since the bit will not penetrate the wood.
Remove the bit and drill a second hole approximately 3 inches from the first and approximately 2 inches from the crack.
Every time you drill a hole, you should aim to hit a strip of lath. In the event that you make a mistake, the bit will go all the way into the chuck.
Try drilling again approximately half an inch higher or lower and mark such holes with a pencil as a reminder not to inject them with primer or glue in the subsequent steps.
Continue doing this on both sides of the crack until you have a series of holes that are spaced about 4 inches apart.
Remove the particles of plaster from each of the holes with a vacuum cleaner.
Prime and Seal
Put on safety goggles and disposable gloves, and then use a spray pump to inject a stream of the acrylic conditioner into each of the holes, avoiding injecting it into any of the holes that have been designated.
A single or double exertion of pressure ought to be sufficient.
Spray the borders of the crack as well, then use a damp sponge to mop up any drips that occur.
Wait for the plaster and wood to absorb the milk-thin conditioner completely into the wood for ten minutes.
Inject the Adhesive
Put the tip of the adhesive tube into one of the holes that have been prepared.
Squeeze the caulking gun's trigger in a controlled manner until the smooth, creamy glue completely fills the hole and a small amount leaks out around the nozzle. Repeat step 1 for each hole that is not indicated.
Remove the excess with a scraper and then clean the wall with a sponge that has been dipped in water.
Clamp the Wall
Put a plastic washer measuring 2 inches in diameter over a drywall screw measuring 1 5/8 inches in length, and then screw it into the lath via one of the adhesive-filled holes.
A large clamping surface is provided for the screwhead by the washer, while the screw itself presses the lath against the reverse side of the plaster.
Washers should be spaced between eight and twelve inches apart on both sides of the crack.
Wipe and Wait
Use a damp sponge to remove any excess adhesive that may have been left. After letting it harden for a couple of days, remove the screws and scrape off the washers to finish the process. (You can put them away for use in another plaster restoration job.)
In addition to this, scrape away any dry adhesive that is protruding through the holes.
Fill the Crack
Prepare a tiny amount of joint compound with a setting agent, and then use it to fill in the crack and all the holes.
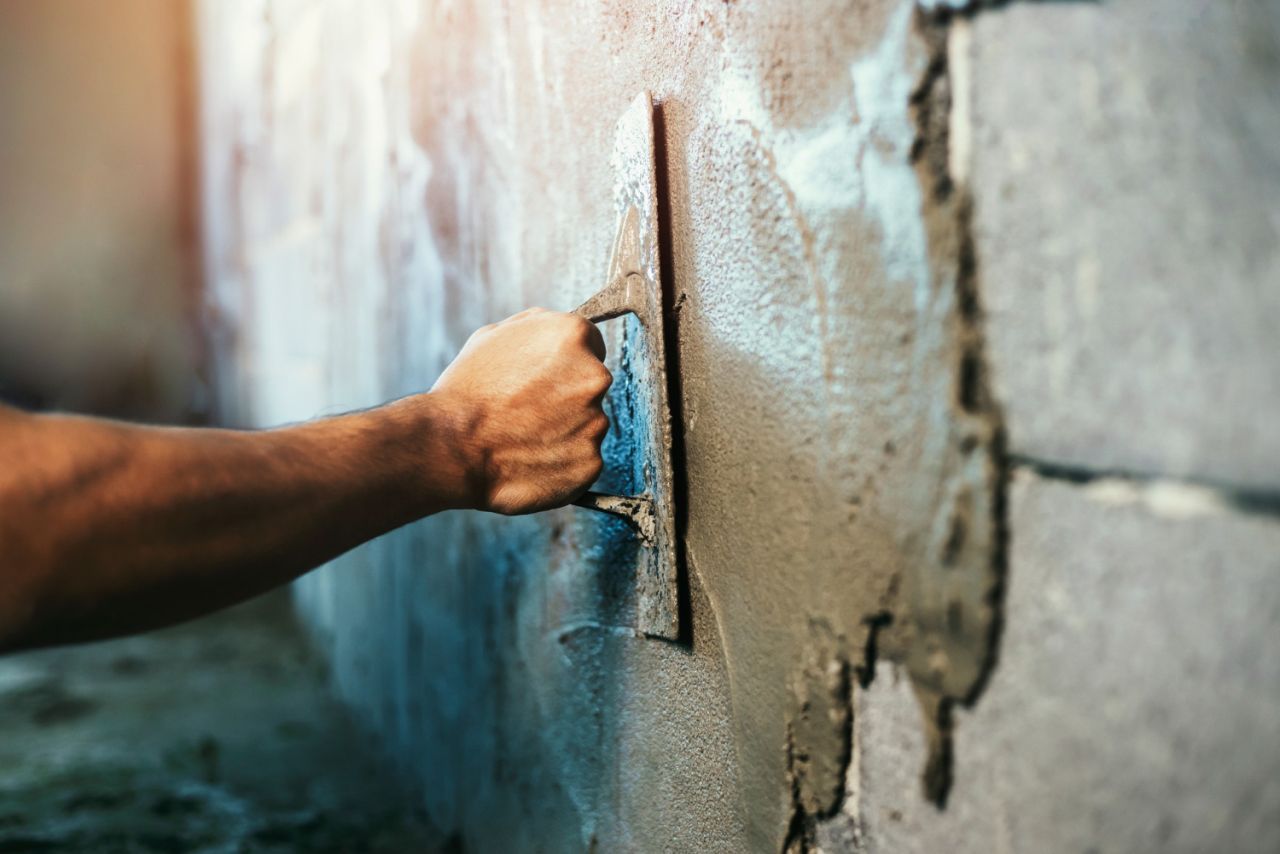
Using a trowel, even out the consistency of the wet mixture; after the mixture starts to set, damp it down and level it out once more.
After the compound has had time to dry, the area should be given a light sanding before being primed and painted.
How to Repair a Lath
In certain circumstances, you could be required to repair the wood lath that is located behind a hole.
If this is the case, then proceed as described below.
Insert Metal Lath in the Hole
If the lath that is behind the hole is damaged, remove the damaged wood by sawing it out with a keyhole saw or another similar cutting tool or by using a chisel and a mallet.
A piece of metal lath, similar to a heavy screen, should have a wire loop inserted in the middle of it.
While maintaining a firm grip on the wire, insert the metal lath into the hole. Then, while pulling the wire in the opposite direction, press the metal lath firmly against the interior of the hole.
Apply Plaster Over Lath
Wrap the metal wire snugly around a wooden dowel, making sure to press the dowel firmly against the wall as you work.
Plaster should be applied in layers until the hole is completely filled, and then the surface should be cross-scratched as it begins to set.
Distribute Joint Compound
After the area has had enough time to dry, take out the wooden dowel and use wire cutters to cut the wire.
After applying a very thin layer of joint compound, wait for it to dry completely for a full day.
After sanding the surface and cleaning it with a damp sponge, the area is ready to receive a coat of paint or wallpaper.
Minimise Plaster Repair With These Tips for Perfect Plaster Walls
Both plaster, a decorative wall coating made of lime, sand, and sometimes fibres, and plaster restoration have been around since the dawn of time. Plaster is a decorative wall coating made of lime, sand, and sometimes fibres.
It is a long-lasting building material despite the fact that it may develop cracks and bubbles.
This is why we can confirm that plaster was used to decorate the pyramids of Egypt and the temples of Greece.
Plaster walls were another common construction material in homes created in the early 1900s, and you may still find them in historical homes built before World War II. (Plaster was gradually being phased out and replaced by drywall panels in the 1950s).
Any room may be given a one-of-a-kind sculptural aspect by adding plaster walls, which include a wonderful texture that gives the appearance of depth as well as fascinating hues of highlight and shadow.
Plaster has experienced a renaissance in recent years, and its presence can be found everywhere these days, from the cosy minimalist pied-à-terre to the vibrant Manhattan townhouse.
Its surge in popularity today may be attributed, in large part, to the technological breakthroughs that have been made in various types of plaster as well as the fact that it is environmentally friendly.
Plaster can come in as many different colour palettes and have as many different textural variants as paint can.
Plaster is becoming increasingly popular among modern homeowners and interior designers as a medium to use on walls in order to impart an aesthetic quality. Plaster comes in a wide variety of formulations, the most common of which are tadelakt, slaked lime, and Venetian, to name a few.
It is essential to perform the necessary study in order to acquire an understanding of the content of the material as well as the applications for which it may be put. Plasters made of gypsum and other cement-based materials are more cheap, but their application requires the skill of a professional, and they may only be suitable for some types of surfaces.
Clay-based plasters can be softer but not used in damp places like kitchens and bathrooms. Venetian plaster can help you achieve stunning designs, but the cost will be on the upper end of the spectrum.
Plaster repair can be significant and expensive if it is put off for too long, regardless of whether or not you want to add plaster walls as part of your renovations or whether or not you already have them.
Look at this brief article to see how you can minimise damage to your plaster walls by properly caring for them from the beginning.
Know How to Recognize Damage
On top of what is called "lath" strips of wood, plaster is applied.
Cracks that form around door openings, wrapped doorways, hallways, or along beams or corners are often stress cracks caused by the foundation or the building shifting, according to John Romans, president of John Romans Construction in Upper Arlington, Ohio. He notes that these types of cracks can be identified by their location.
This may happen as a result of defective foundation construction or as the building is being remodelled. A leaking roof or pipe can cause cracks in the corners, which provide a path for water to follow when it rains. When water damage occurs to plaster walls, it is common to observe a bulge in the wall that is formed as a result of the plaster coming loose from the lath.
Plaster applied over drywall will cause the area to become pliable.
A stain with a brownish colour will be present in the area in either scenario.
You will always be able to see the repair if you skim-coat the entire wall, therefore, it is best to get it done by a professional who has experience working with the type of plaster that you used.
Repair Cracks ASAP
According to Shapiro, if you want to keep the condition of your plaster in good form, you will need to make repairs to any flaws as soon as they arise. This procedure is more difficult than simply filling in cracks in drywall. I have not been able to locate a sealant that will be effective for repairing hairline cracks.
We always fill in the cracks. Sadly, the caulks and sealants merely end up bubbling up in the end.
When repairing plaster, trenching can be a complex process.
Learn to Hang Art and Shelves Correctly
Plaster is famously difficult to work with, and one of its challenges is that it makes it difficult to hang paintings and other objects. When you hit plaster with a nail, the underlying lath responds by giving you a bounce-back effect.
This has the potential to cause significant damage to the entirety of the wall. Even if the wall doesn't crack, the paint could come dangerously close to bubbling up over the plaster, leaving a dent about the size of a golf ball.
To avoid the issue, it is recommended by Coombs that you hang anything weighing more than a few pounds using an anchor and screw system, such as a flat-screen television. Molly bolts and toggle bolts are the two types of anchors that work best for plaster walls.
Both are typically constructed out of metal and offer additional support to load-bearing objects.
I recently utilised the toggle to hang enormous works of art in a home over a century old, and everything was smooth.
In addition, you should locate a stud to fix the screw using a stud finder if one is not already available.
When hanging things on plaster walls, you absolutely need to pre-drill the holes first.
Use a drill bit between a third of an inch and a sixteenth of an inch smaller than the nail you are working with.
In order to properly drill the hole, the drill bit needs to be angled at a 45-degree angle.
After that, work the nail into the wall with a gentle drill.
To prevent the nail from moving inside the hole, you can also put a caulk or construction adhesive dab in the hole.
This will prevent the nail from moving.
Before hanging the picture on the wall, you will need to give the caulk or glue sufficient time to dry.
Alternatively, you should steer clear of nailing into plaster.
Picture moulding is a feature that may be seen in many older homes and is used to display artwork.
You can put in a current wiring system even if your house does not have any moulding of this kind.
Touch Up Regularly
If your plaster is in good condition but has a cracked and sparkly appearance, repainting it with paint that has a more matte finish will help minimise any imperfections in the surface and give it a new lease on life.
Before painting an ancient plaster wall, you will need to consider the paint currently on the wall.
The older paint used was an oil-based paint. In order to paint with a water-based medium, you will first need to apply the required primer.
Clean Carefully
Walls made of plaster can be cleaned in the same way as walls made of other materials.
The main difference is in the texture, which calls for a more careful approach because plaster surfaces are prone to breaking readily.
You should begin by vacuuming them with an attachment that resembles a dust brush; if they are still [dirty], you can clean them with a warm, moist cloth using a mixture of water and dish soap; however, you should be careful not to scrub too forcefully because this could damage the texture or finish of the item.
Conclusion
Plaster walls have long been cherished for their durability, elegance, and timeless appeal.
To restore them, it is important to reunite the plaster with the strips of wood lath underneath.
Big Wally's Plaster Magic is a homeowner-friendly adhesive that uses glue instead of screws.
Prepare the room with plastic drop cloths and painter's tape, close off the room, and smooth and patch cracks with plaster, spackle, or joint compound.
Sand smooth with a fine-grit sandpaper.
Apply a second coat of joint compound and allow it to dry before proceeding.
Sand, prime and paint the patched area with True Value EasyCare Ultra Premium Interior Primer/Sealer and let it dry.
Remove damaged plaster, apply latex bonding agent, apply and cross-scratch plaster, apply a second layer of joint compound and let it dry.
Repair plaster walls by drilling into the plaster, priming and sealing with acrylic conditioner, injecting adhesive with a caulking-gun trigger, and clamping the wall with a washer and drywall screw.
Plant washers on both sides of the crack, wipe and wait, fill the crack with setting-type joint compound, repair a lath with metal lath, apply plaster over the lath, and distribute the joint compound.
Minimise plaster repair with these tips.
Plaster has made a comeback due to technological advancements and being eco-friendly.
There are many types of plaster on the market, but it is important to research and understand what is in the material and how it can be used.
Recognising damage is key to minimising damage. Repair cracks ASAP, learn to hang art and shelves correctly, and use an anchor-and-screw system to prevent damage.
Hang large art on plaster walls using a toggle and a stud finder.
Pre-drill the hole with caulk or construction adhesive, or install a modern wire system.
Touch up regularly with matte finish paint, and clean carefully with a warm, damp cloth.
Content Summary
- Restoring Plaster Walls Welcome to our comprehensive guide on restoring plaster walls, where we delve into the art of preserving the beauty and authenticity of historical craftsmanship.
- In this article, we will walk you through the step-by-step process of restoring plaster walls, sharing valuable insights and expert tips to help you revive the grandeur of these architectural marvels.
- What Are Plaster Walls?
- The Finish Coat After the brown coat dries, you are ready for the final coat.
- Use a cloth or rag to wipe away dust and debris.
- Apply a layer of plaster to the crack with a 4" wallboard knife, making sure the layer is even with the rest of the wall.
- Allow the area to dry for 24 hours.
- You can also use a spackle and a joint compound to patch cracks.
- Apply a second coat of joint compound and feather this layer out 6" to 12" from the repaired area to help it blend in further.
- How to Repair Holes in Plaster Remove Damaged Plaster Remove the damaged plaster by using a cold chisel and a ball peen hammer to chip the damaged plaster off the wall.
- Apply and Cross-Scratch Plaster Fill in the hole with plaster using a 10" wallboard knife.
- Cross-scratch the first coat of plaster to help the second coat stick well as it begins to set.
- Distribute a 3/8-inch thick layer of plaster over the hole and cross scratch as before.
- As you would with a wall crack, feather coverage about 3" around the repair area so it will blend in with the rest of the wall.
- This final layer must be applied very thinly to blend with the wall and must dry for 24 hours.
- How to Repair Plaster Walls Drill Into the Plaster Using a 3/16-inch masonry bit, drill a hole in the plaster about 2 inches from the crack.
- Vacuum the plaster crumbs out of all the holes.
- Wait 10 minutes for the milk-thin conditioner to soak into the plaster and wood.
- Clamp the Wall Slip a 2-inch plastic washer over a 1 5/8-inch drywall screw, and drive it into the lath through one of the adhesive-filled holes.
- Plant washers about 8 to 12 inches apart on both sides of the crack.
- Mix up a small batch of setting-type joint compound and use it to fill the crack and all the holes.
- In some cases, you may need to repair the wood lath behind a hole.
- There are many types of plaster on the market—like tadelakt, slaked lime, and Venetian, to name a few.
- Regardless of whether you add plaster walls into your renovations or you currently have them, if left neglected, the plaster repair can be substantial, not to mention costly.
- Check out this mini guide as to how you can minimise damage by caring for your plaster walls from the start.
- With plaster over drywall application, the area will become soft.
- Repair Cracks ASAP To keep your plaster in good shape, you will need to repair any defects as soon as they appear, according to Shapiro.
- We always dig the cracks out.
- The one notoriously tricky thing about plaster is that it can be hard to hang paintings and other objects.
- This can cause serious damage to the entire wall.
- To prevent the problem, Coombs advises you to use an anchor-and-screw system to hang anything of weight, such as a flat-screen TV.
- The best anchors to use for plaster walls are molly bolts or toggle bolts.
- Pre-drilling is a must for hanging on plaster walls.
- Then gently drill the nail into the wall.
- Alternatively, avoid nailing into plaster altogether.
- Most older homes will have picture moulding used to hang pictures.
- Before painting an old plaster wall, you must consider the current paint application.
- Cleaning plaster walls is not unlike cleaning other types of walls.
Frequently Asked Questions About Plaster Walls
Plaster repair before painting is important for many reasons.
First, it ensures that the surface you want to paint can complement the paint.
Second, it ensures the paint's longevity and the surface.
Plaster can be easily painted with the same techniques as drywall.
Even with a good coat of primer, plaster walls are notoriously thirsty for paint.
Using a roller for open spaces and brushes around trim and borders, spread an even coat of your choice of paint.
Try to cover the wall in a manageable amount of time.
Ideally, plaster needs to be fully dry prior to painting.
Fresh plaster will take around 4-6 weeks to fully dry.
Fresh plaster is porous and will therefore absorb moisture.
If you attempt to paint over plaster that is still damp, the paint is likely to peel off.
Over time, plaster may delaminate or become detached from the surface beneath.
In the case of stud walls and ceilings, timber laths are fixed between the studs or joists and the plaster is pushed through the gaps between the laths.
First off, if well maintained, plaster can last longer than drywall.
The Gypsum Association cites a 50-year lifespan for drywall, whereas plaster has been known to last 100 years or longer.


