
Designing your home from the ground up is inspiring because it allows you to express your individuality while accommodating your family's unique requirements and tastes. Every feature, from the arrangement to the décor, offers a chance for individuality and practicality.
Every one of us has unique goals and aspirations for the end product of our DIY construction projects. Creating a home from scratch is an arduous and important task requiring high concentration and attention to detail.
Comprehensive guidance on planning your own home is available here if you consider taking this step.
What Is The Difference Between Building A House From The Ground Up And Remodelling One?
In general, neither choice is inherently better nor more practical than the other; rather, your best course of action will depend on your specific situation. When deciding what's best for you, it's important to consider your time, money, and available resources.
You may update the kitchen and bathrooms to match modern tastes, add to the number of bedrooms and living areas, and expand the property to accommodate your needs. It might get expensive. Renovating an existing home is better than starting from scratch.
Things To Consider When Designing A House
Certain parts of the house must adhere to specific standards to achieve your desired level of pleasure and turn your dream house into a reality. However, it would be best if you thought about these important factors.
Make Sure You're In The Right Location.
Obtaining a plot of land is the first order of business before considering what building to construct. However, have you ever examined the site more closely? Is this the perfect spot for your ideal house? Check the land to see if it's level and affordable.
In terms of the house's foundation, soil conditions are crucial. The site's grading and development costs can increase if the soil is improved. Both money and energy are needed for this. So, before you buy the land, be sure it's in good condition and not just because it's cheap.
Size
Big plan or little plan? Your budget is the determining factor in this selection, as mentioned earlier. An architect is required; you should also be prepared with responses. In your ideal home, what is the number of stories?
Would you like rooms that are two stories tall? Certain municipalities set the minimum and maximum allowable dwelling sizes. Consult your architect to learn about any potential building restrictions municipal ordinances impose.
The House's Direction
Much depends on the direction your home faces. Ensure that this issue is addressed during the design process. For optimal comfort, facing the proper direction in all your living spaces, including dining rooms, bedrooms, and living rooms, is important.
There must be unfettered access to natural light in the room. You can reduce the amount of light bulbs you need to purchase. There will be less need for artificial ventilation systems because the house will be naturally ventilated. Instead of a brick wall, show your windows a picturesque scene.
Open Floor Plan
Open floor plans are an alternative to more traditional layouts with delineated rooms. The concept is based on the idea of a single, spacious dwelling. The intended aim is reflected in the arrangement of the furnishings.
Kids and parents are better able to spend quality time together in open floor plans, which also facilitates easier supervision. No room is isolated from the others because of the open layout.
Less material will be required, which means you can save money, but there will be less privacy and more noise impacts.
Think About Your Budget.
What is the total amount you have set aside for the construction? Before you start planning for your new home, you should establish a budget if it is something you are not accustomed to doing.
A house can be expensive to build. Without a budget, you're more inclined to go beyond your spending. Make a spending plan and adhere to it to stay away from that. Unless your budget is large, it's best to stick to a simple, inexpensive floor plan.
You should budget for specific costs, such as construction supplies, labour, the architect, furniture, etc. Always aim to save extra money in your budget.
And Long-Term Durability
Regardless of their appeal, it is not a good idea to design a home with architectural details that will increase the cost in the long run. The maintenance expense will become apparent, even if it will appear excellent on paper.
Buildings should be long-lasting. Make use of sturdy, dependable materials that require little upkeep. Refrain from being swayed by the price of materials to buy something that won't last and will require renovations often.
Think about the weather where you are and pick materials accordingly. Construct a building that will endure rather than settle for a temporary one.
Furniture
It would help if you were sure to measure your living area before purchasing furnishings. Considering this early on, ensure there's enough room for your furnishings. The measurements of the furniture you already own might serve as a guide. Your beloved pieces of furniture must be able to fit into your ideal house if you plan on bringing them with you.
Arrange your furniture in a way that complements your floor plan. There shouldn't be any extra furniture that blocks the way for cars. The exact amount that is required. For easy movement, set them up with at least 90 cm of space between each.
Designing With Your Family
You must include them in your objectives. Think about what your loved ones think about the house's layout and construction. You must ensure they are also content with the design, as you will share the space.
Important considerations include room dimensions and intended purpose. Be sure there is plenty of room for your children to run around and play, such as a garden or backyard, and that the house is safe for them to play in.
Your family's needs should guide every aspect of home design, including the structure, equipment, and furnishings.
Be Realistic And Flexible.
A two-in-one plan is possible. For instance, one room can serve as a guest room and an office. Bring it down to create a guest room and bring it up to create a workspace—all you need is a built-in bed. Improving the room's practicality should be your top priority. Having guests around all the time isn't always practical, especially if you're working with a limited budget.
Consider purchasing furniture that can be transformed. Establish a multi-purpose space. As your family expands, it prevents you from having to renovate anything. A flex room is a good investment to continue having children.
Steps To Design Your Home
Step 1: Visualising Your Dream Home
Make your ideas come true by drawing up a floor plan for the house of your dreams and letting your imagination run wild. Imagine a limitless universe where anything is possible if you close your eyes. Visualise the building's style, layout, and atmosphere that bring your heartfelt dreams to life.
Think about why each room is there. Imagine a home with a reading nook flooded with natural light, a gourmet kitchen that makes you want to whip up some delicious treats, and a main suite that's your haven. Let your creativity run wild as you peruse the limitless options for a house design that will reflect your personality.
Let your imagination run wild, but keep sight of what's useful and practical. Everything from your regular schedule to your family's requirements and future aspirations should be considered. The key to making your dream home a reality is striking a balance between form and function so it complements your lifestyle while also looking great.
Step 2: Prioritising And Budgeting
After you've envisioned your ideal house, the next step is to prioritise your needs and create a reasonable budget. The selection of materials and finishes, as well as the overall scale of the project, are just a few of the many decisions that go into building a house. Making a list of your top priorities before you start the design process will help you stay on track.
Consider the amenities you must have in your ideal home and the features you will not compromise on. You might have grandiose aspirations of an open-concept living space or a large patio for outdoor parties. It is important to identify these objectives to make educated judgements and allocate resources effectively as the design develops.
Making a spending plan that supports your goals should be your next priority. Home renovations and construction may be expensive, so knowing where your money is going is important before you start planning. Gather information on building costs, material prices, and other potential charges. In case anything unforeseen happens that could affect your budget, make sure to factor it in.
Although it could be tempting to go overboard and fulfil every goal, it's wise to prioritise your desires while keeping your budget in check. Before you start the design process, it's a good idea to set a reasonable budget to stay on track financially without sacrificing your vision.
Step 3: Selecting Your Designer
It is important to choose the correct designer. From initial brainstorming to final product design and even project management, designers have you covered. As a bonus, they can assemble interdisciplinary teams of experts in several fields, such as interior design, geotechnical engineering, landscape architecture, sustainability consultants, accredited energy assessors, and structural engineers.
Professional in the field of architecture. Either one can design your home, and they are both accredited and regulated. Hiring an architect instead of a building designer could be costly, but the results could be more unique and difficult to replicate. However, the skill and cost level depends on the architect or designer.
Architects must register with the state and adhere to regulations that differ from one state to the next. To become registered with the Architects Accreditation Council of Australia, one needs to have a degree in architecture or demonstrate similar credentials, do an internship, and then pass an exam on their practical skills. Most states mandate that architects maintain proper professional indemnity insurance and participate in continuing professional development regularly to keep their registrations.
Step 4: Design Concepts
It is common practice for designers to create multiple concept designs to convey their thought processes and allow you to evaluate them concerning your requirements. They might be as basic as a bubble diagram on an envelope or as elaborate as a hand-drawn representation of an idea for a building's layout.
Step 5: Design Development
During this important stage, you will typically see the following: indications of the furniture layouts, indoor-outdoor flow, size and orientation of window openings, and early selection of construction techniques. At this point, you should imagine your family residing in the design. Take a look at your present house through fresh eyes.
Step 6: From Blueprint To Reality.
The moment has come to take the mental picture of your ideal house and turn it into the comprehensive drawings that will guide the building process. At this critical stage, you must materialise your ideas into construction-ready blueprints, designs, and specifications that will direct the crew.
You will go on a joint adventure to hone your design concept while collaborating with architects and designers. After several meetings and conversations, your concepts will be refined into detailed floor plans, architectural drawings, and elevation renderings. Your ideal home's layout, measurements, and structural specifications can be captured in these documents.
To ensure your design is complete, follow this procedure, which may appear complicated initially. Attention to meticulous detail will ensure that your dream home looks magnificent and performs without any problems in day-to-day life. This includes everything from the positioning of windows and electrical points to the layout of the rooms and the flow of traffic.
You will be able to envision the finished product of your ideal home with the help of comprehensive plans. To ensure the designs align with your tastes and vision, you can review them and give feedback.
Step 7: Create A Brief, Price Proposal, And Contract.
An important part of the design process is keeping the brief you started in the early stages of research up-to-date so that everyone involved can look back at the decisions they made. It is also the foundation upon which the designer's charge estimate should be based. Include both in the designer's contract.
Typically, designers would have a ballpark budget per square metre. Several things contribute to the final cost tag, including but not limited to size, site difficulty (such as access, slope, fire hazard, and wind exposure), construction method, number and size of wet areas (such as Laundry areas, toilets, and kitchens), services (such as sewer, water, and energy supply costs), and access (such as driving distances for materials and tradespeople's travel times), in addition to the aforementioned preliminary costs.
Your designer is responsible for recommending sustainable design features appropriate for your site and climate and providing suggested pricing for each component you specify in your brief. Consider these expenses from a lifespan viewpoint. The initial investment in these features is often more than covered by the money you save on your energy and water bills over time.
Step 8: Choices For Materials And Finishing
Choosing the fixtures, fittings, and flooring that will make your ideal house a reality is the most thrilling phase now. From the ground to the cabinetry, every surface offers a chance to express your unique style and establish a balanced ambience.
Think about the big picture of the style you want to go for. Would you prefer a classic, homely style or something more contemporary and sleek? When considering materials like ceramic tiles, hardwood, stone, or concrete, it's important to consider how long they will last, how much maintenance they take, and whether or not they will work with your lifestyle.
A room's colour scheme is one of the most important design elements. Pick out colours that go well with your home's decor and make you feel how you want. Experiment with various patterns and textures to give your rooms more depth and visual appeal.
Consider more than just the surface when making decisions on finishes. Choose lights, accessories, and fixtures that complement the design. Please focus on the finer points; they can transform your home's style together. Lighting, faucets, door handles, and switches should all work together to convey the mood you're going for.
Interior designers will collaborate closely with you at this point to offer advice and suggestions based on your ideas. Their expertise will lead you through confusing options so you can select finishes and materials that fit your budget while still fulfilling your design goals.
Step 9: Construction And Realisation
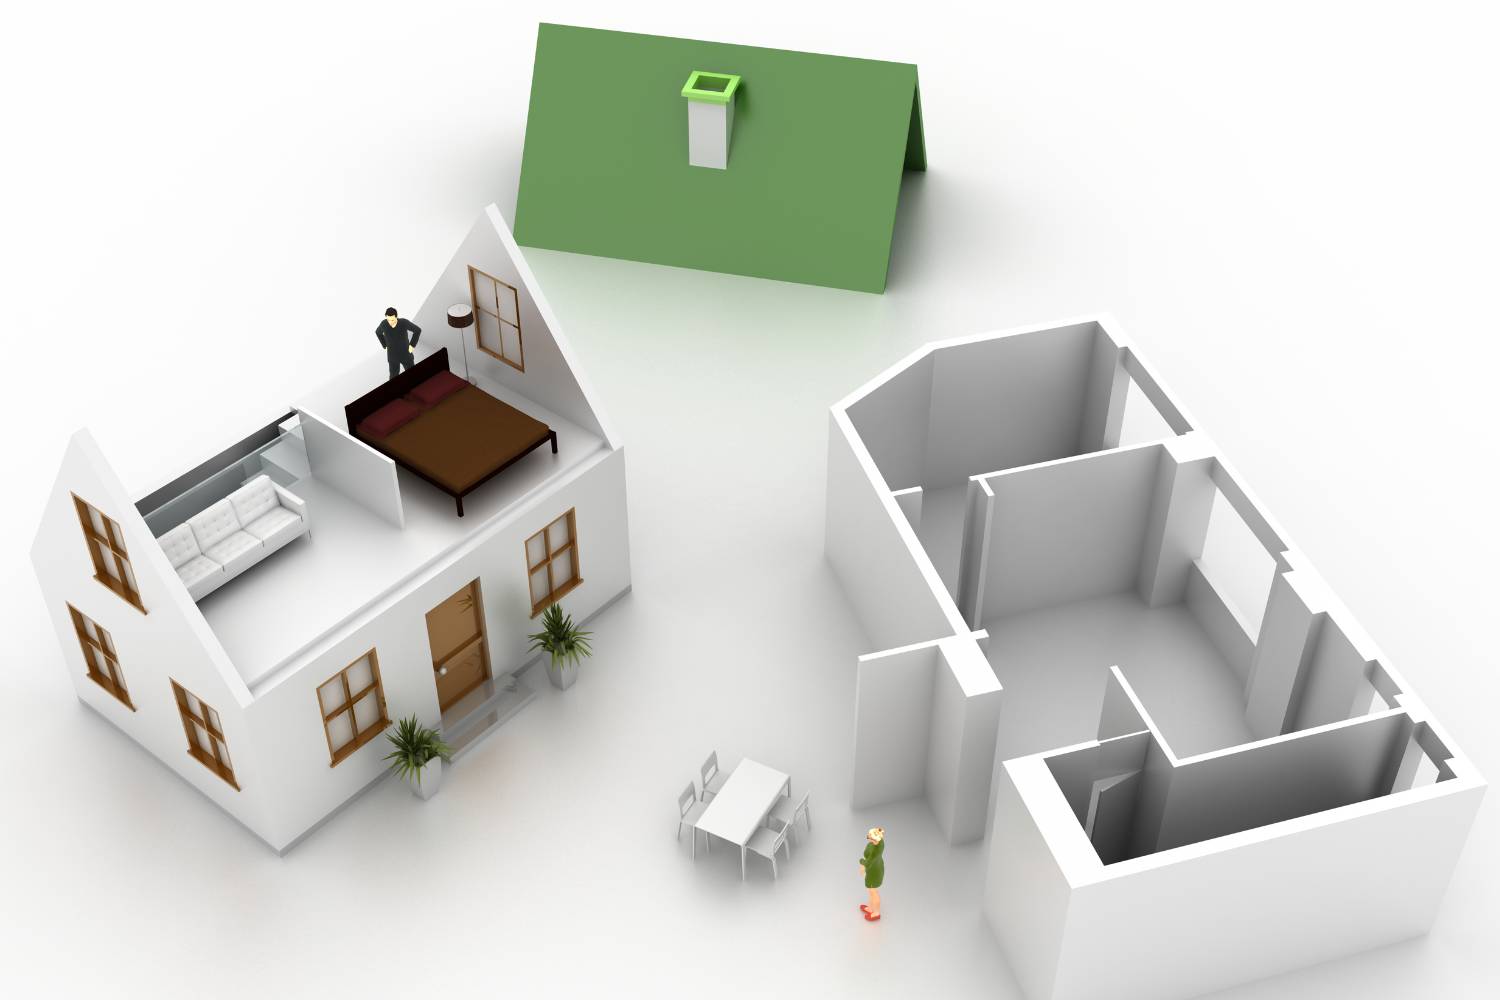
After you've settled on the blueprints and materials, the next most exciting step is to see your ideal house take shape while it is built. The space you've always dreamed of takes shape at this transformational moment when your creativity, vision, and hard work come together.
The ceremonial laying of the foundation stone, symbolising the beginning of construction, is when your dream home becomes a reality. The construction process begins with the architectural drawings and ends with the skilled labour of contractors, builders, and artisans. Thanks to their extensive knowledge and meticulous attention to detail, every component is skillfully and precisely executed.
Although there may be many thrilling moments during building, there may also be many difficult and unexpected obstacles. Delays may arise due to unforeseen circumstances, problems with the supply chain, or bad weather. Keep an open mind and have faith in your team's abilities. With their expertise, they will overcome these obstacles and bring your ideal home to life with meticulous care.
Conclusion
Designing your own home from the start is both fun and difficult. It gives you a chance to show who you are while also taking into account the needs and tastes of your family. Building a house from scratch is a hard job that needs a lot of focus and attention to detail. The best thing to do for you will depend on your position, and you should think about your time, money, and other resources.
When planning a house, you should think about its location, size, direction, budget, open floor plan, and how long it will last. Make sure you're in the right place, set a price, and think about which way the house faces. Kids and parents can spend valuable time together and keep an eye on them more easily in open floor plans, which have one large living space.
Before you start planning your new home, make a budget and stick to a simple, low-cost floor plan. Set aside money in your budget for things like building materials, labour, an engineer, furniture, and more. When picking materials, think about the weather and pick things that don't need much upkeep.
Finally, whether you should build a house from scratch or remodel an existing one relies on your situation, your time, your money, and the resources you have access to. If you think about these things, you can build a home that works well and doesn't break the bank, making your dream home a reality.
Before you buy furniture, make sure there is enough space in your living room by measuring it. Setting up the furniture should match the floor plan and leave at least 90 cm of room between each piece. Plan with your family in mind, taking their wants and needs into account. Families on a tight budget may benefit from a two-in-one plan, so be honest and open to change.
Drawing a floor plan of your dream home will help you picture it in your mind. Think about the house's style, layout, and mood, as well as what each room is used for. It's important for a design to find a balance between form and function.
Make a list of your wants and a budget for them. Then, make a reasonable budget for the project's size, materials, and finishes. Make a list of your top goals and make good use of your resources. Make a spending plan that helps you reach your goals by getting information on how much it will cost to build, buy materials, and pay for other things that might come up.
Choose the right designer who can do many things related to design, such as geotechnical engineering, landscape architecture, sustainability consulting, qualified energy assessors, structural engineers, and interior design. Professional builders and designers can help you plan your home, but they have to register with the state and follow the rules.
Content Summary
- Designing your own house allows for personal expression and accommodation of unique family needs.
- Every detail in the house design offers a chance for individuality and practicality.
- Creating a home from scratch is a demanding task that requires focus and attention to detail.
- Comprehensive guidance is essential when planning to build your own home.
- Building a house from the ground up and remodelling have their own sets of advantages depending on personal circumstances.
- Consideration of time, budget, and resources is crucial when deciding between building new or remodelling.
- Remodelling can adapt existing structures to modern tastes and needs but may be costly.
- Designing a house requires thoughtful consideration of many factors to achieve satisfaction.
- The right location is the first step in the process, involving evaluation of the land's condition.
- Soil conditions and site grading can significantly impact construction costs and efforts.
- The size of the house is primarily dictated by budget and local zoning regulations.
- Consulting an architect is necessary to navigate building restrictions and design considerations.
- The house's orientation affects natural light access and energy efficiency.
- Proper direction of living spaces enhances comfort and reduces reliance on artificial light and ventilation.
- Open floor plans offer a modern, spacious feel but may reduce privacy and increase noise.
- Budgeting is critical to avoid overspending and ensure the financial feasibility of the project.
- A detailed budget should include costs for materials, labour, architecture, and furnishings.
- Long-term durability of the house should not be compromised for aesthetic details that increase maintenance costs.
- Using high-quality, low-maintenance materials can save on future renovations.
- Material selection should also consider local weather conditions for lasting construction.
- Furniture planning is essential to ensure it fits the living space and complements the floor plan.
- Involving family in the design process ensures the house meets everyone's needs and preferences.
- Multi-functional rooms can maximise space and adapt to changing family needs.
- Realistic and flexible design approaches can save costs and space in the long run.
- The goal of designing your own house is not just to create a physical structure, but a home that reflects personal tastes and accommodates the family's lifestyle.
- Evaluating the land involves not just its cost but its suitability for your dream home.
- The number of stories and room heights are considerations that affect the house's character and functionality.
- Facing the right direction can enhance living quality by optimising natural light and views.
- An open floor plan encourages family interaction and makes supervision of children easier.
- A well-planned budget prevents financial strain and helps prioritise essential features over luxuries.
- Sustainability in house design not only saves on future costs but also contributes to environmental conservation.
- Furniture arrangement should facilitate ease of movement and not overcrowd the space.
- Including family in planning helps in creating spaces that support each member's activities and comfort.
- Flex rooms offer versatility, serving different functions as family dynamics change.
- Balancing aesthetics with practicality ensures the house remains functional and appealing over time.
- Assessing the plot's topography can influence the design and layout of the house.
- Building codes and regulations guide the permissible size and structure of the house.
- Natural ventilation and lighting can significantly reduce energy consumption and costs.
- The choice between open and traditional floor plans depends on individual preferences for space utilisation.
- Anticipating future maintenance helps in selecting materials and designs that are cost-effective in the long run.
- Weather resilience of building materials ensures the longevity and safety of the home.
- Furniture selection and placement are integral to the overall design and functionality of the house.
- Engaging family members in design discussions fosters a sense of ownership and satisfaction with the end result.
- The adaptability of spaces and furnishings can enhance the home's functionality over time.
- Practical considerations should not overshadow the importance of creating a welcoming and comfortable home environment.
- Land assessment includes understanding potential development costs beyond the purchase price.
- Consultation with professionals is vital in navigating the complexities of house design and construction.
- Energy efficiency can be optimised through strategic orientation and design choices.
- Financial planning for a house project requires a detailed understanding of all potential expenses.
- The design process should reflect a balance between the dream and the practical realities of building a home.
Frequently Asked Questions
- Prioritise essential features over extravagant ones.
- Opt for a simple, efficient floor plan to minimise construction costs.
- Explore cost-effective building materials and finishes.
- Consider energy-efficient designs to save on long-term expenses.
- Maximise natural light and ventilation to reduce reliance on artificial systems.
- Utilise standard sizes for fixtures and appliances to avoid custom expenses.
- DIY certain aspects like painting or landscaping if feasible.
- Research local zoning laws and building codes to avoid costly revisions.
- Seek multiple quotes from contractors to compare costs effectively.
To incorporate sustainable design principles into your house, you can:
- Install energy-efficient appliances and LED lighting.
- Use eco-friendly building materials like bamboo flooring or recycled glass countertops.
- Optimise natural light through large windows and skylights.
- Implement proper insulation to regulate indoor temperatures.
- Harvest rainwater for gardening and toilet flushing.
- Invest in solar panels or other renewable energy sources.
- Design landscaping with native plants to reduce water consumption.
- Install high-efficiency plumbing fixtures to conserve water.
Architects and designers play a crucial role in the home design process. They are responsible for creating functional and aesthetically pleasing spaces that meet the needs and preferences of the homeowners. Architects design the overall layout and structure of the home, ensuring that it complies with building codes and regulations. They also consider factors like space utilisation, natural light, and environmental impact.
Designers focus on the interior aspects of the home, including furniture arrangement, colour schemes, and decorative elements. They help homeowners visualise their ideas and select materials and finishes that enhance the overall design concept. Together, architects and designers collaborate with clients to translate their vision into a well-designed and harmonious living environment.
Yes, there are several current interior design trends you may consider for your home:
- Natural Elements: Incorporating natural materials like wood, stone, and bamboo can add warmth and texture to your living spaces.
- Neutral Color Palettes: Using neutral colours such as beige, grey, and soft whites creates a timeless and calming atmosphere.
- Minimalism: Embracing minimalist design principles by decluttering and focusing on essential furniture and decor promotes a sense of serenity and simplicity.
- Statement Lighting: Incorporating bold and unique lighting fixtures, such as oversized pendants or sculptural chandeliers, can add visual interest and personality to your home.
- Mixing Textures and Patterns: Experimenting with different textures and patterns, like mixing metals or layering textiles, adds depth and visual richness to your interior design scheme.
- Personalisation: Infusing your home with personal touches, such as family photographs, artwork, and heirlooms, creates a sense of identity and connection to your living space.
To ensure that your home design meets your functional and aesthetic needs, it's crucial to understand your lifestyle and preferences thoroughly. Begin by outlining your daily routines, activities, and the specific functionalities you require in each area of your home.
Consider factors such as the number of occupants, traffic flow, storage requirements, and any special considerations like accessibility needs or pet accommodations. Simultaneously, pay attention to your aesthetic preferences, including styles, colours, textures, and overall ambience you wish to create.
Engaging with professional designers or architects can help you translate these requirements into a cohesive design plan that balances functionality with visual appeal. Regularly revisiting your design plan and adjusting as needed ensures that your home remains aligned with your evolving needs and tastes.



